19th February 2008
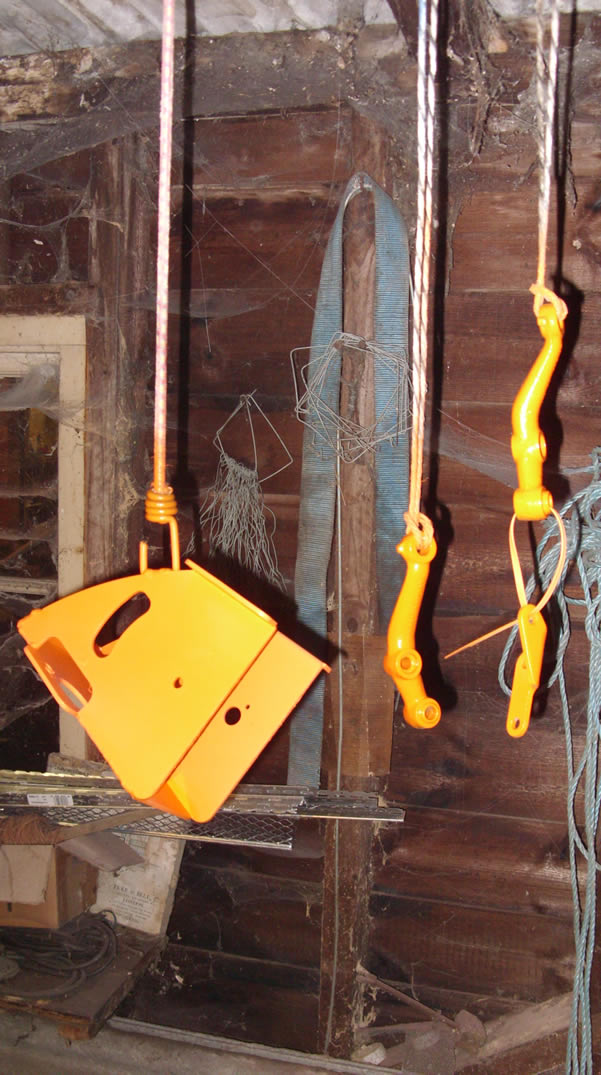
For the last few days I have been painting and prepping bits for the rear suspension set up.
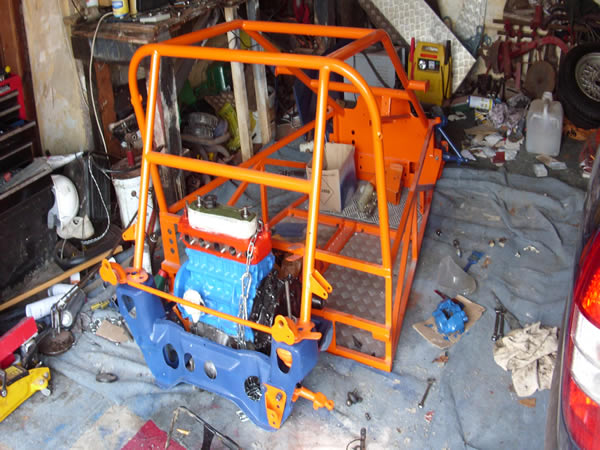
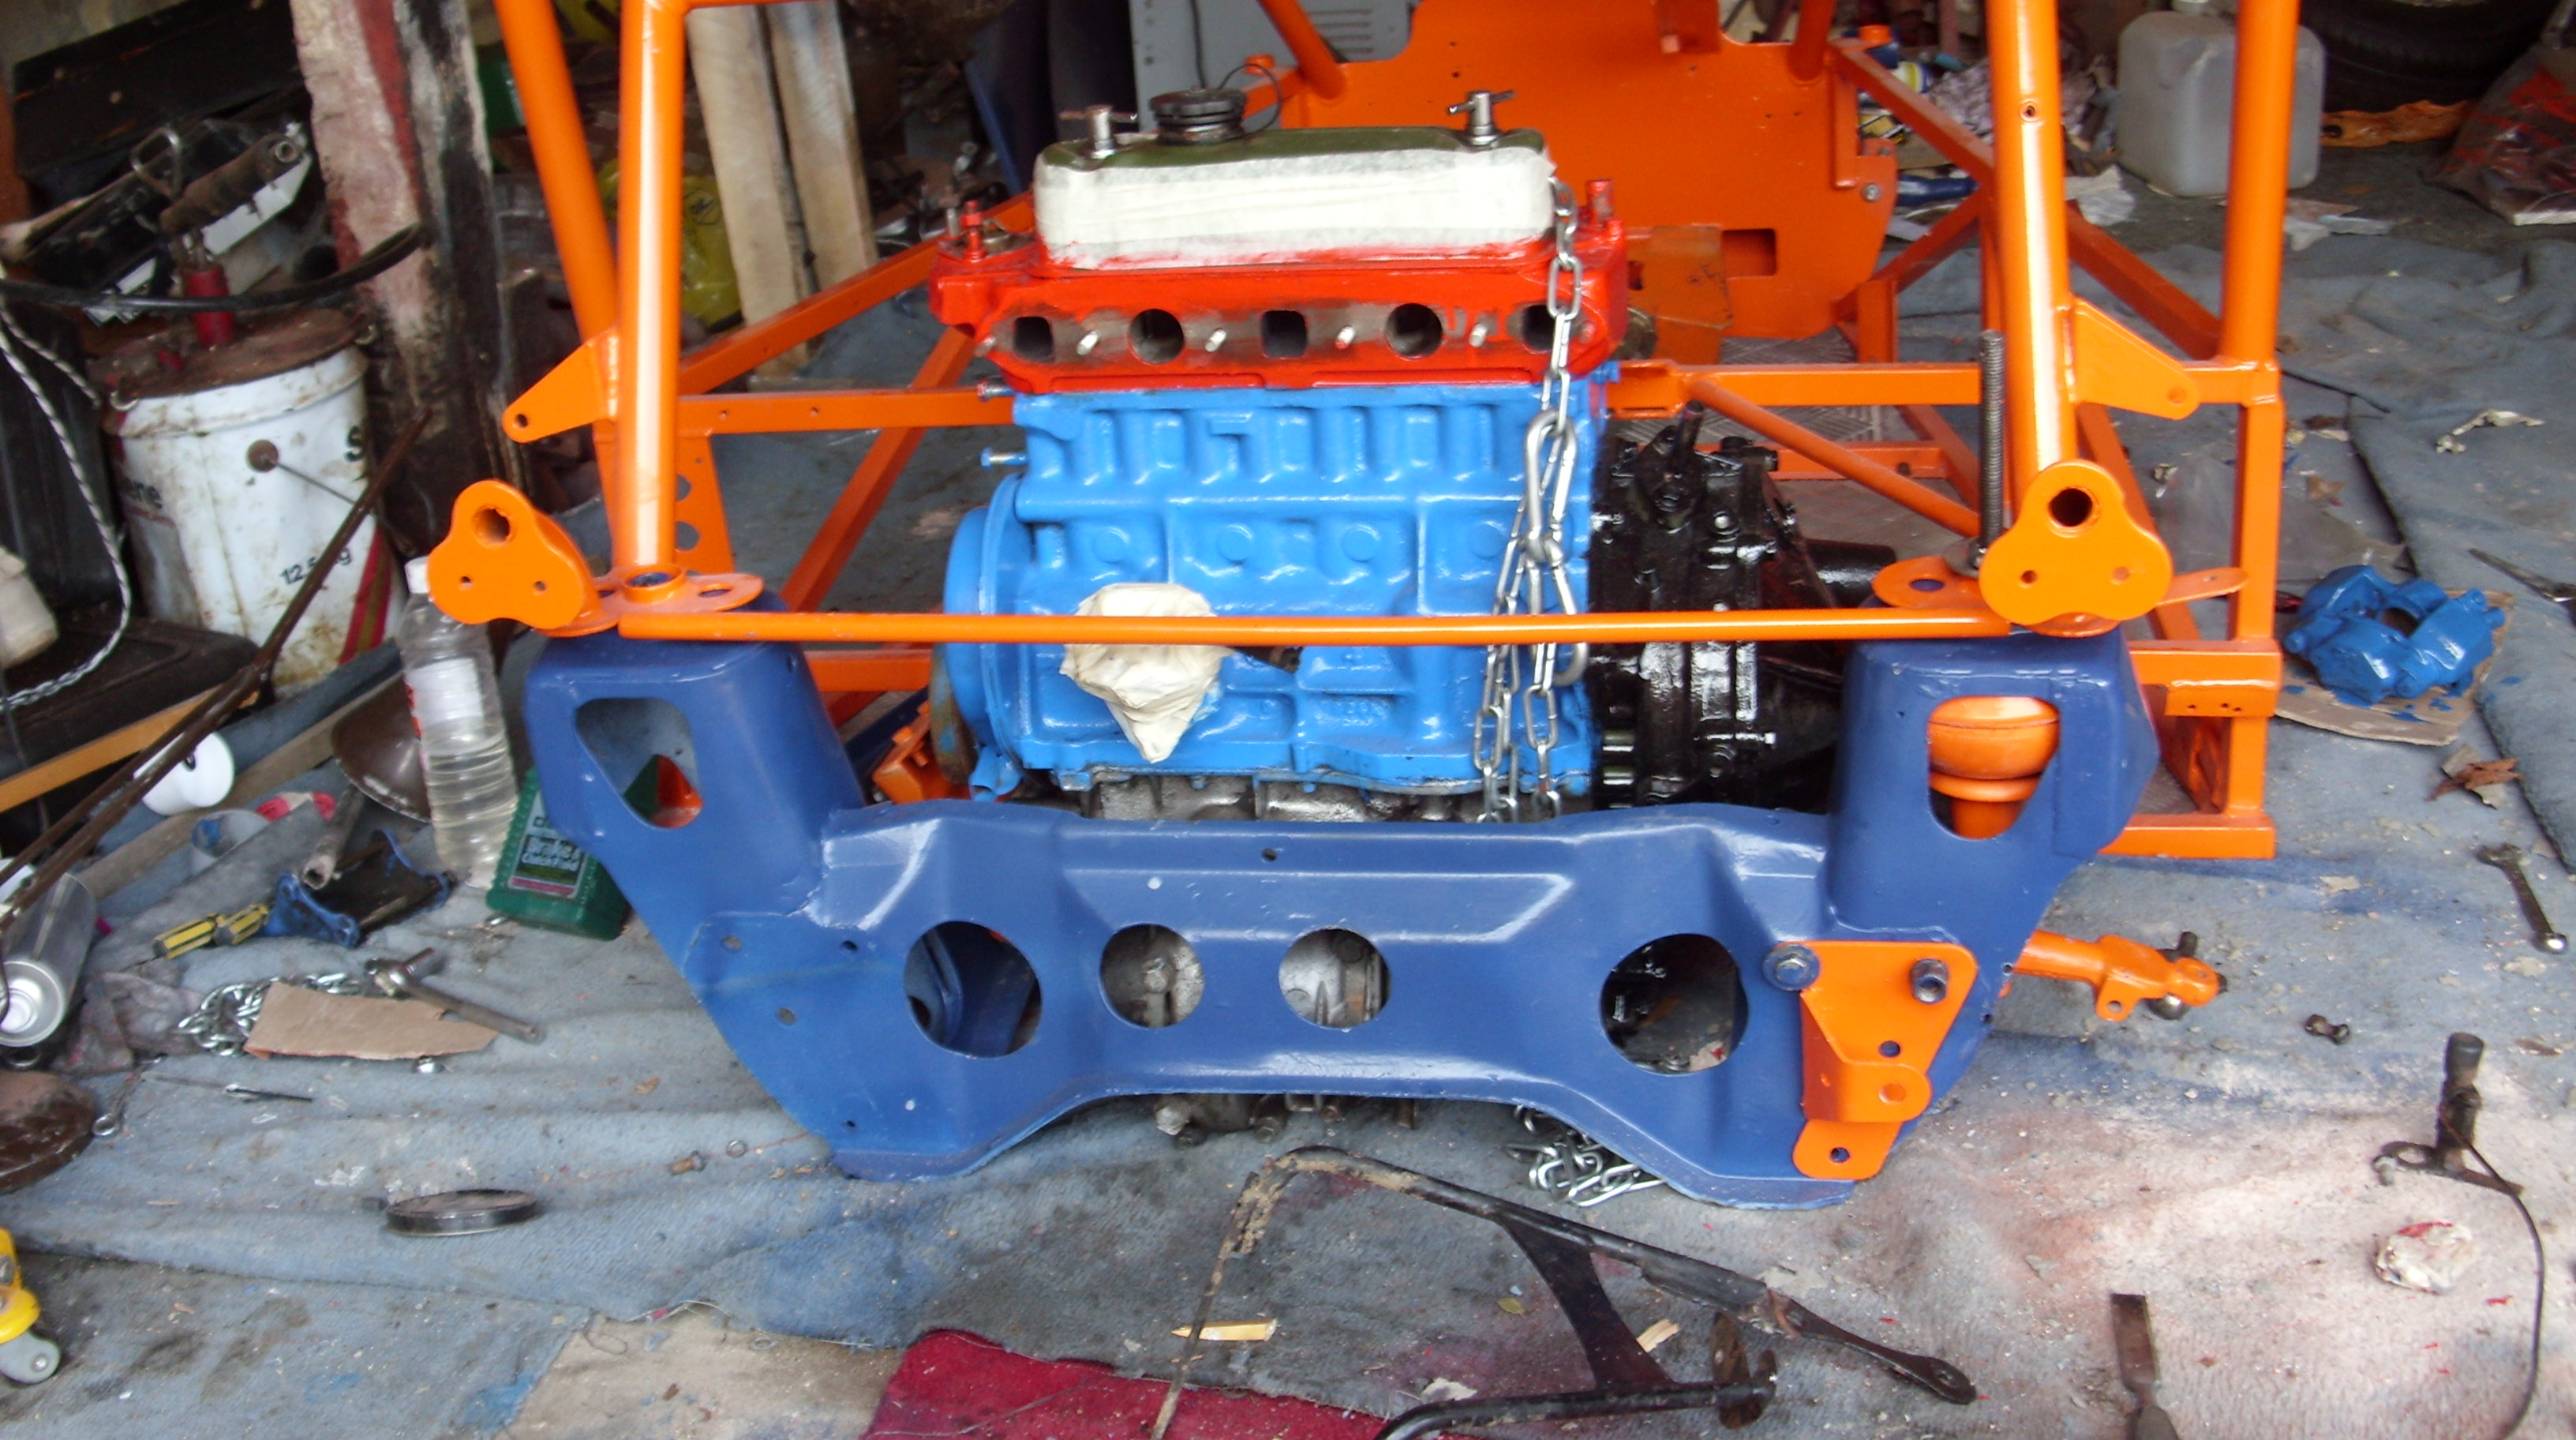
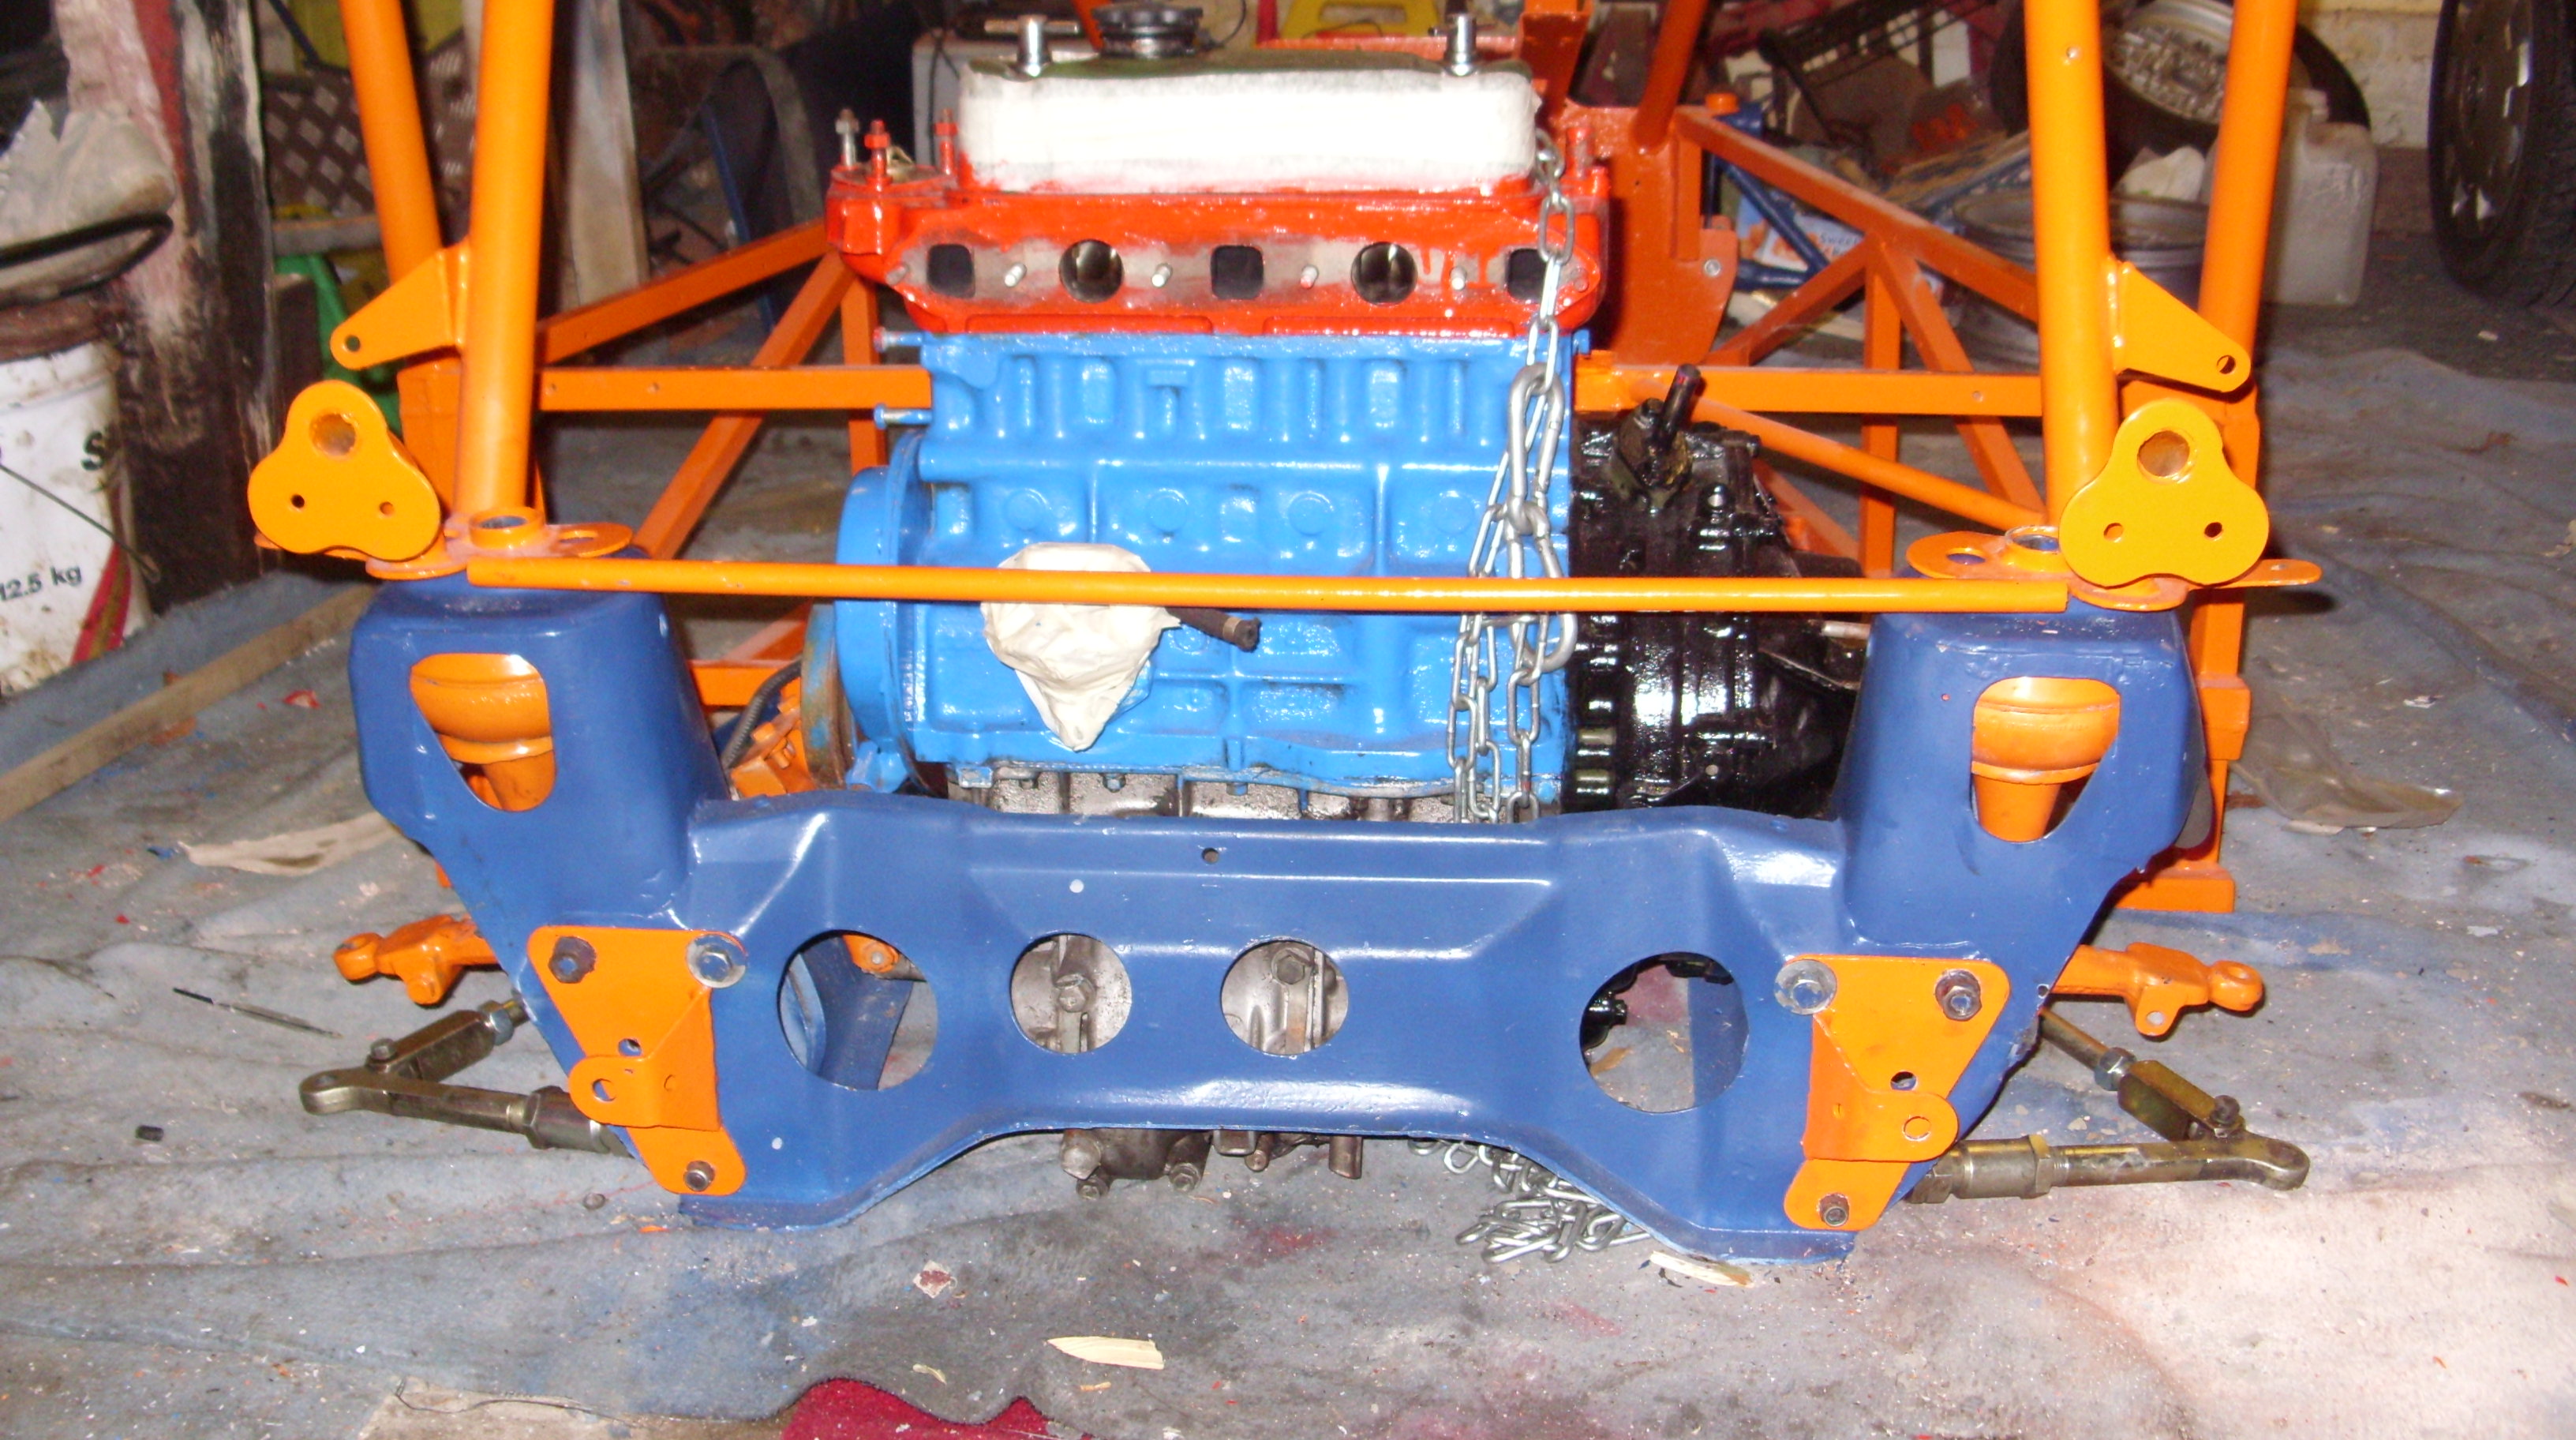
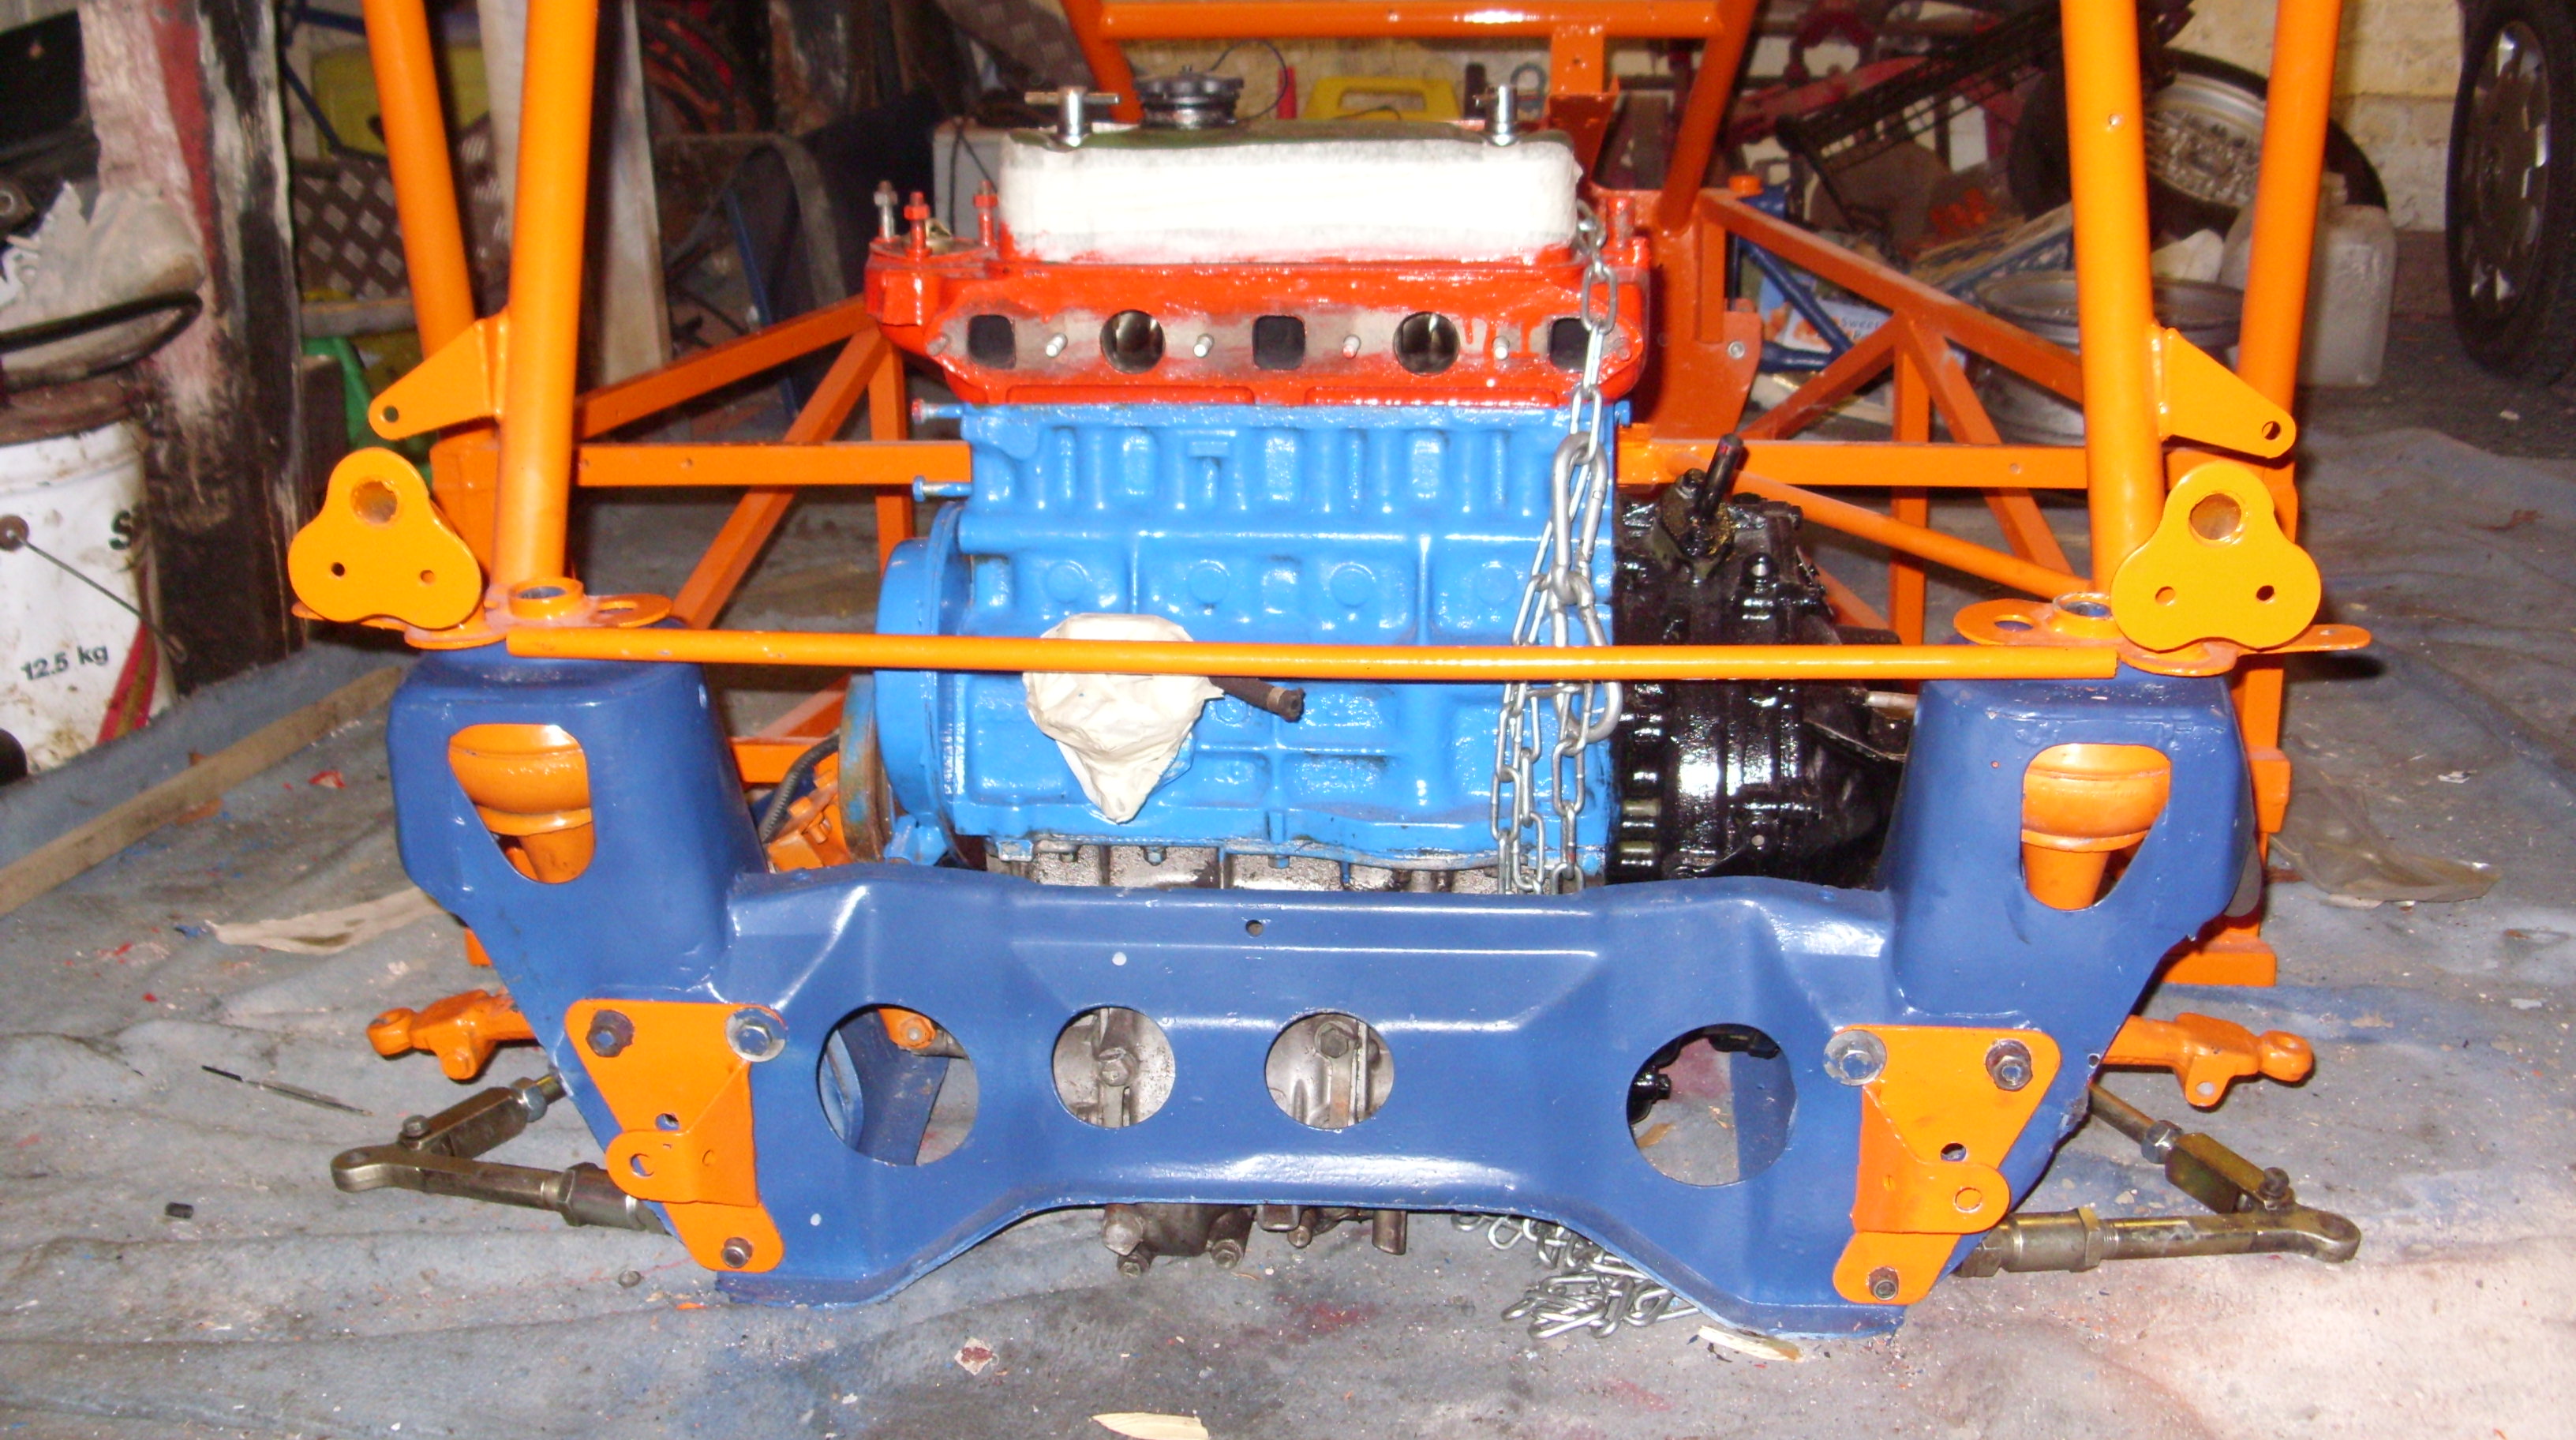
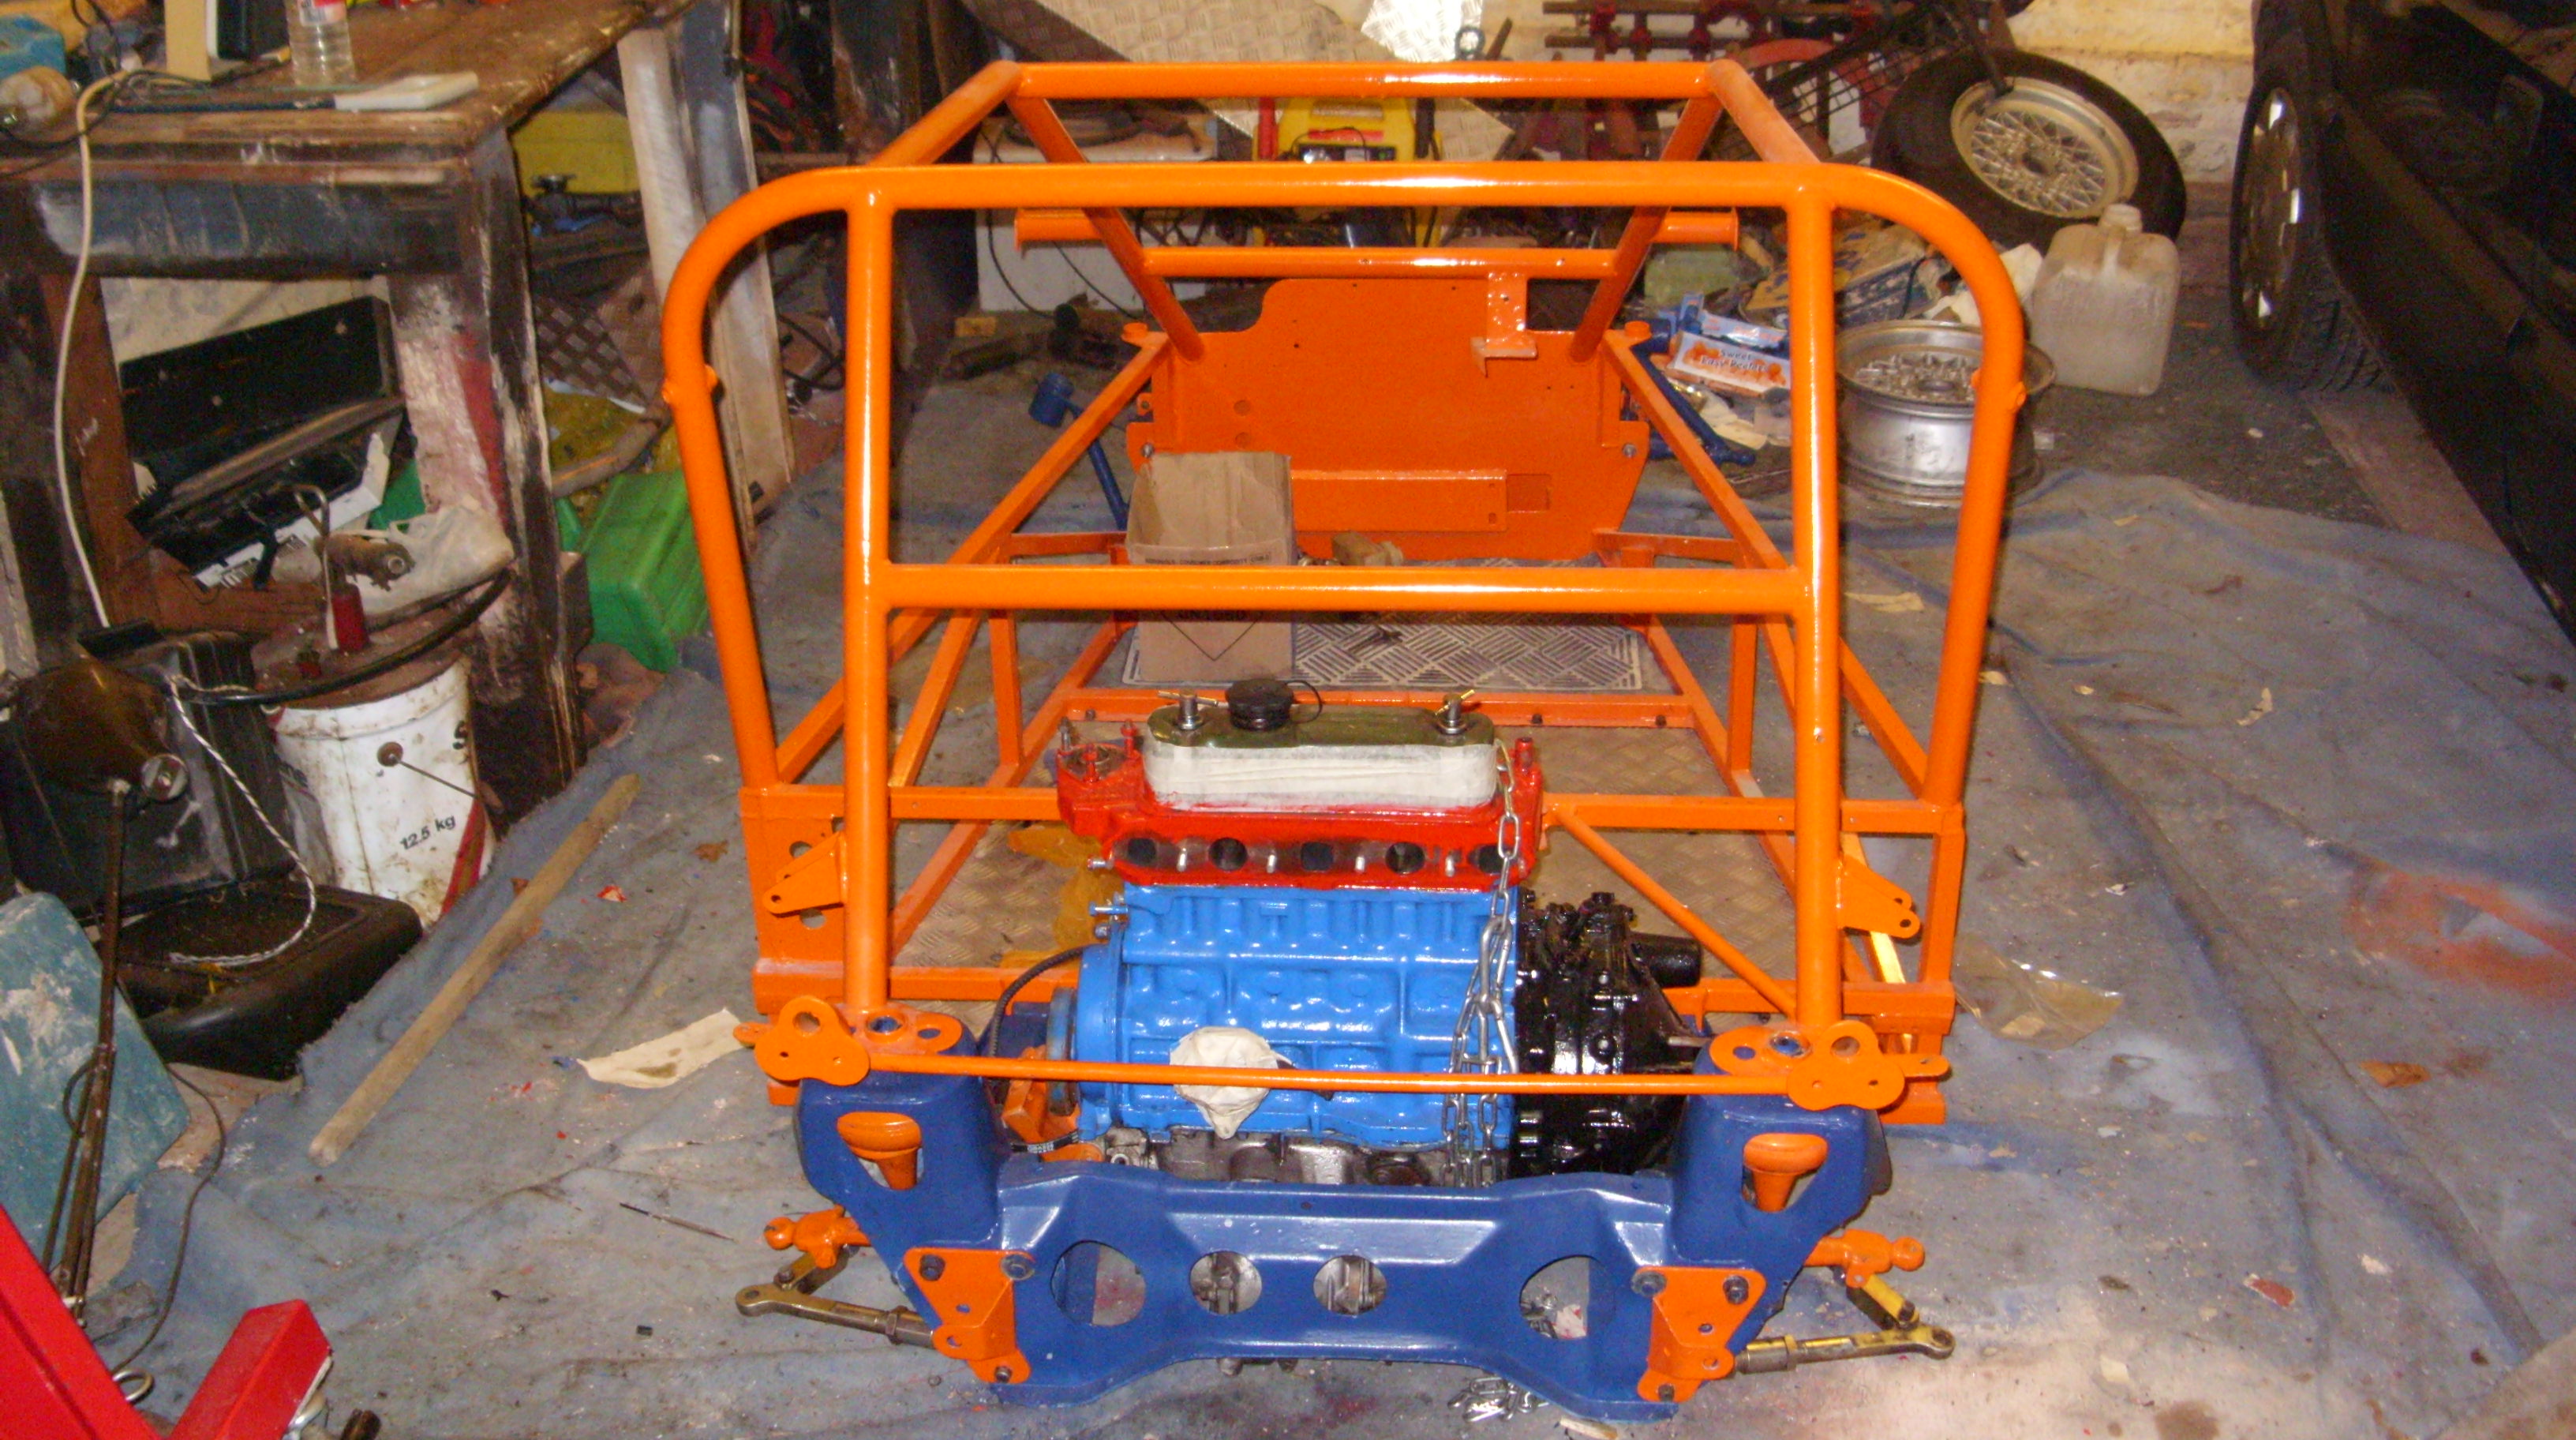
I also fitted the engine to the subframe with the help of my little sis. The bell housing end of the engine was a simple procedure getting the mount in but the timing chain end was a real pig and took over an hour of swear and throwing things but its in.
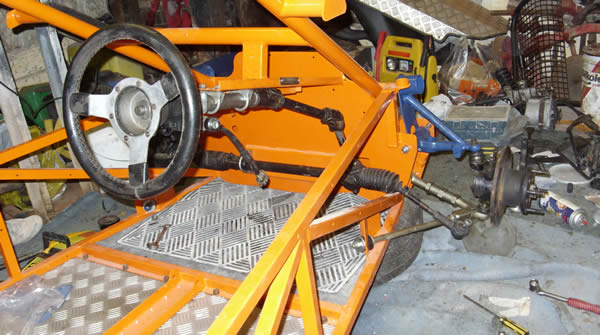
As you will notice from the pictures below I have actually fitted the engine to the subframe and the subframe to the chassis with the chassis still sat on the garage floor I have done it like this as my alloys are still not painted.
I have also been stripping the alloys ready for painting I have found that strong paintstripper has done the job perfect and so this has made light work of the prepping.
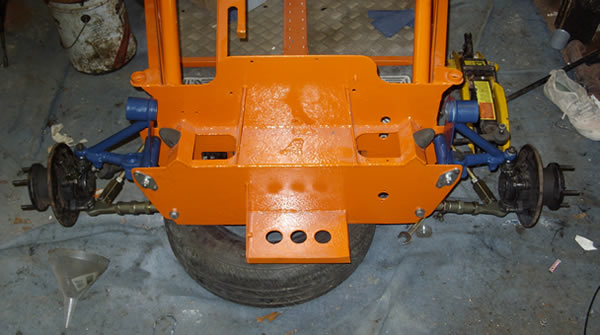
All the rear suspension componants are now fitted other than the rear hubs and drive shafts.
I have also renewed the front top arm bearings and bushes and the top arms are now fitted and painted.
2nd March 2008
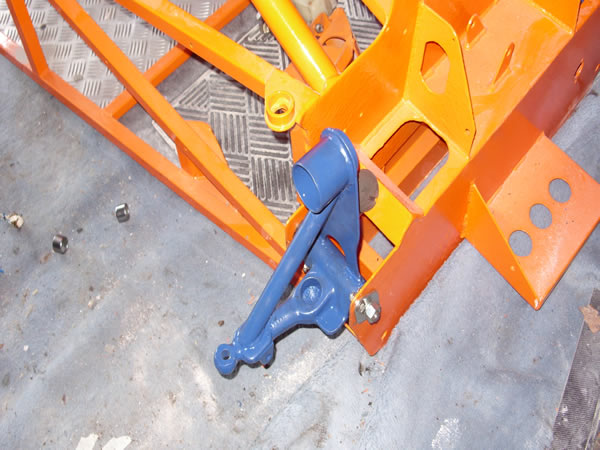
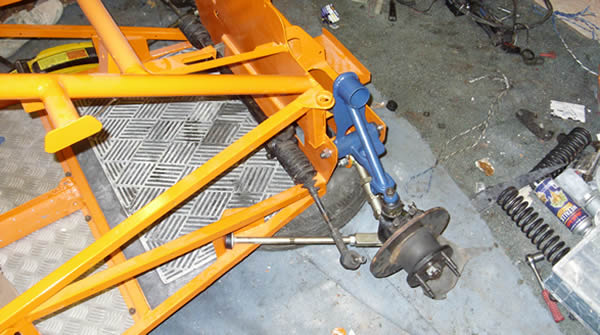
So this week, I fitted the bottom arms on the front, I had a few issues had to grind 12mm of each side as It was giving too much positive camber. I also fitted the adjustable tie bars which was interesting also because withe the new bushes the tie bars looked like they would never ever meet the bottom arms but with a bit of pursuasion we were there.
I also fitted the front hubs, on the first side the bottom ball joint would not go in then realised that they are tapered and the left side was on the wrong side so I had to swap them over which meant wrestling to get the tie bar to reach the bottom arms again.
I also found it easier to put the buggy on my old tyres this way it was off the ground and I can continue fitting hubs ect while my alloys are being painted.
So with the front hubs fitted, I decide to fit the steering rack and colomn which was a bit fiddley but none the less I am happy with the results.
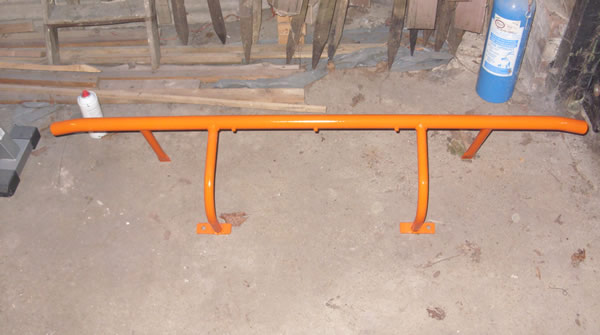
I managed to get my rear bumper painted by IP body craft who did in exchange for beer which was handy, on that same day myself and simon (esdebe) made up a number plate bracket with chequer plate and riv nuts to fit on the bumber… looks pretty neat…. thanks simon.
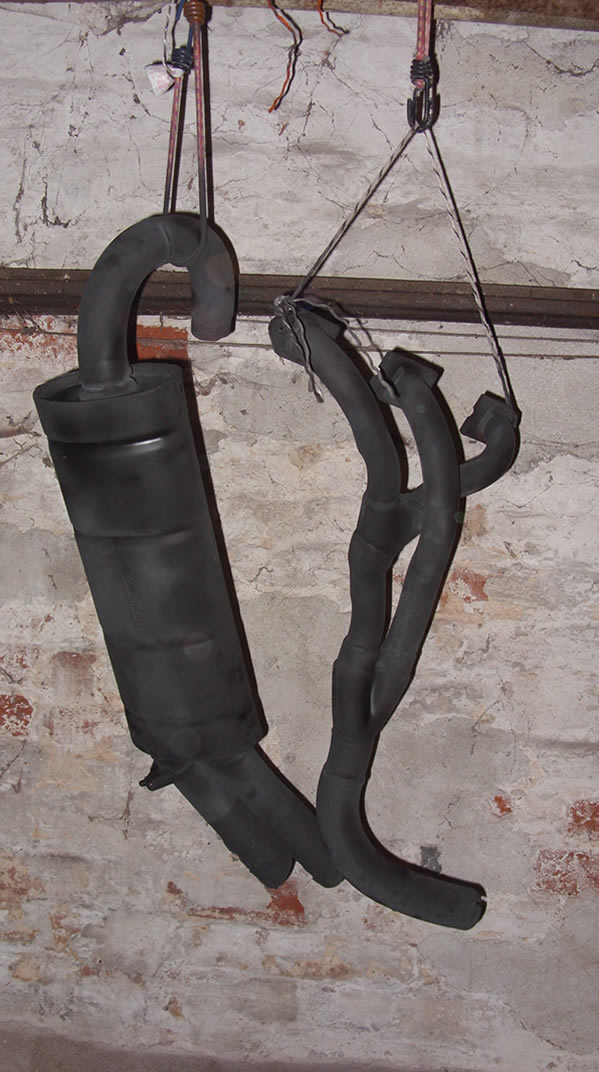
I have also painted my old NOISY exhaust in black high temp paint and when I trial fitted it with the bumper it looks insane, I cant wait to hear it burbling awaya agin.
The alloys are in laquer now so they should be ready for the tyres next week. I have chosen for yoko’s 175/50/13 this should improve grip and performance off the line. Mini sport did a special offer £191 delivered for 4… which is quite reasonable.
I have also painted the pedal box and steering arms too.
The oil cooler arrived from Alan (Phaeton) this week so I have also ordered my oil stat and just need to work out where to put it an then try and get airflow threw it.
I have also gone for some uprated engine stabiliser brackets, one goes from the flywheel end of the gear box to the subframe and the other goes from the timing chain end to the subframe, this should greatly improve the steadyness of the engine, I have plans to also incorporate and “Ultimate Engine Steady” as well but this will be at a later date.
I have organised a rolling road session for the buggy at a very reasonable price, so that my weber 45 can be tuned properly and they have suggested getting the longest inlet manifold possible so thats what I am looking for, the longest I have found so far is 7 inches, I think its going to stick miles past the back of the buggy but my god its going to be quick!!
So for the rest of the week I will be waiting for my tyres to turn up and hopefully have the chassis rolling ready for the week after and then its plain sailing from there.
To carry on reading click here to go to page 6 of my re build diary


